Getting the Light Right: A Real-World Look at UV Curing
We build UV lamps that do one thing: hit your ink with exactly the right kind of energy to make it snap from a liquid to a solid in a matter of seconds. A lot of people think this is about heat. It’s not. It’s all about the wavelength.
Finding the Right Frequency
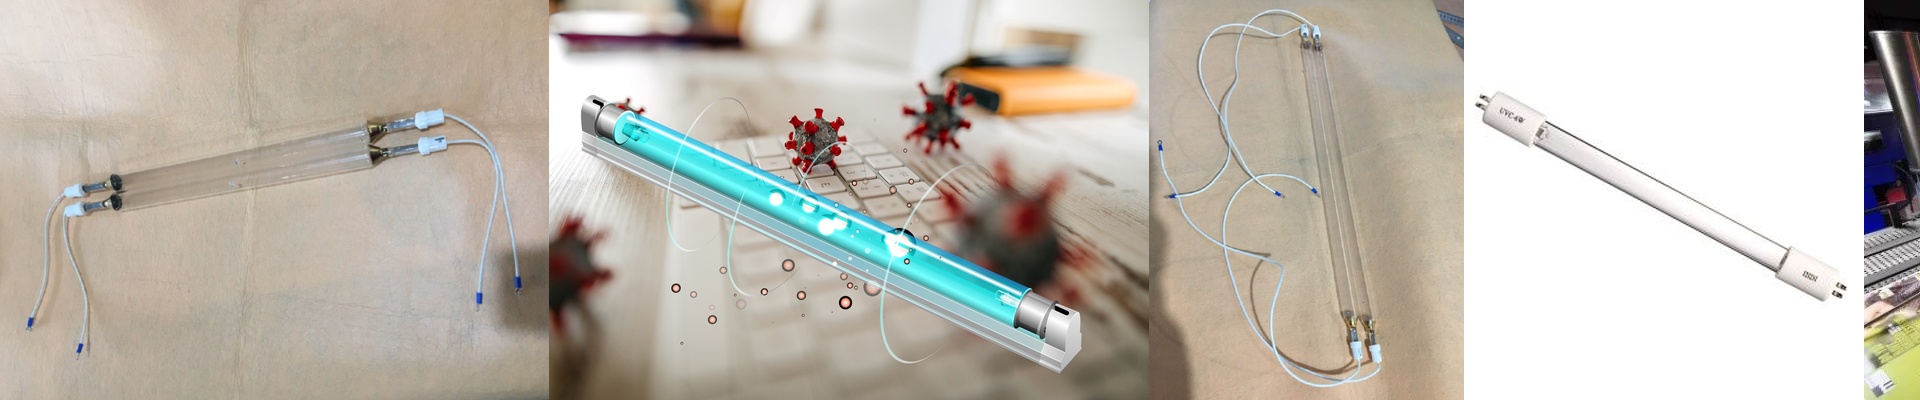
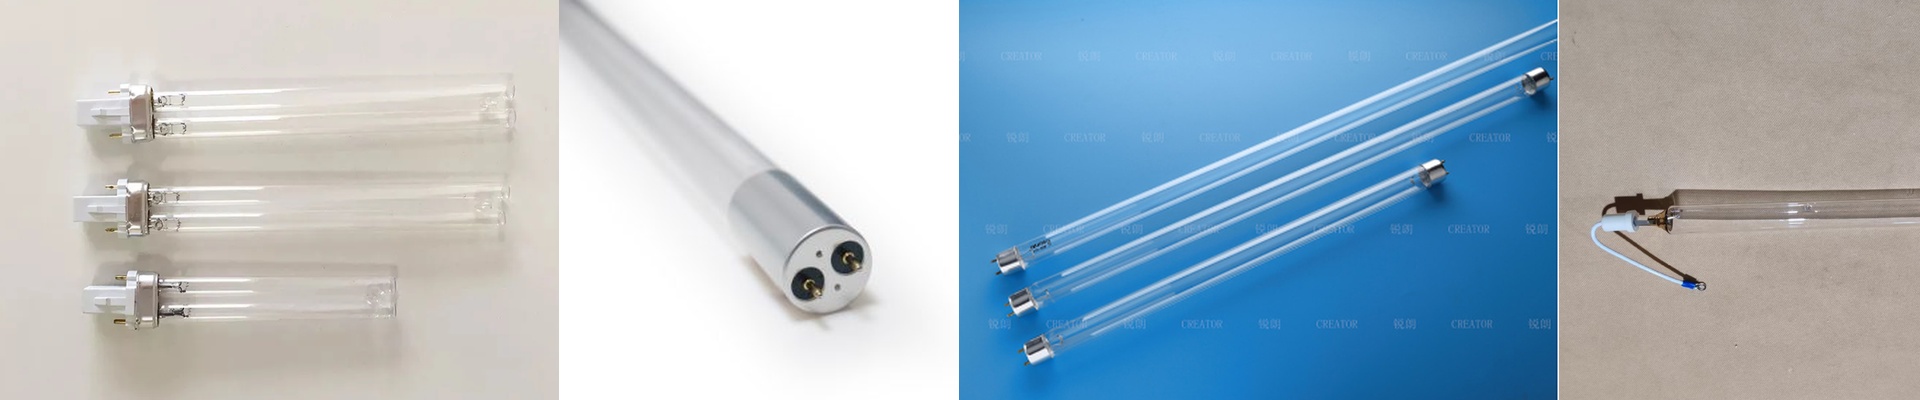
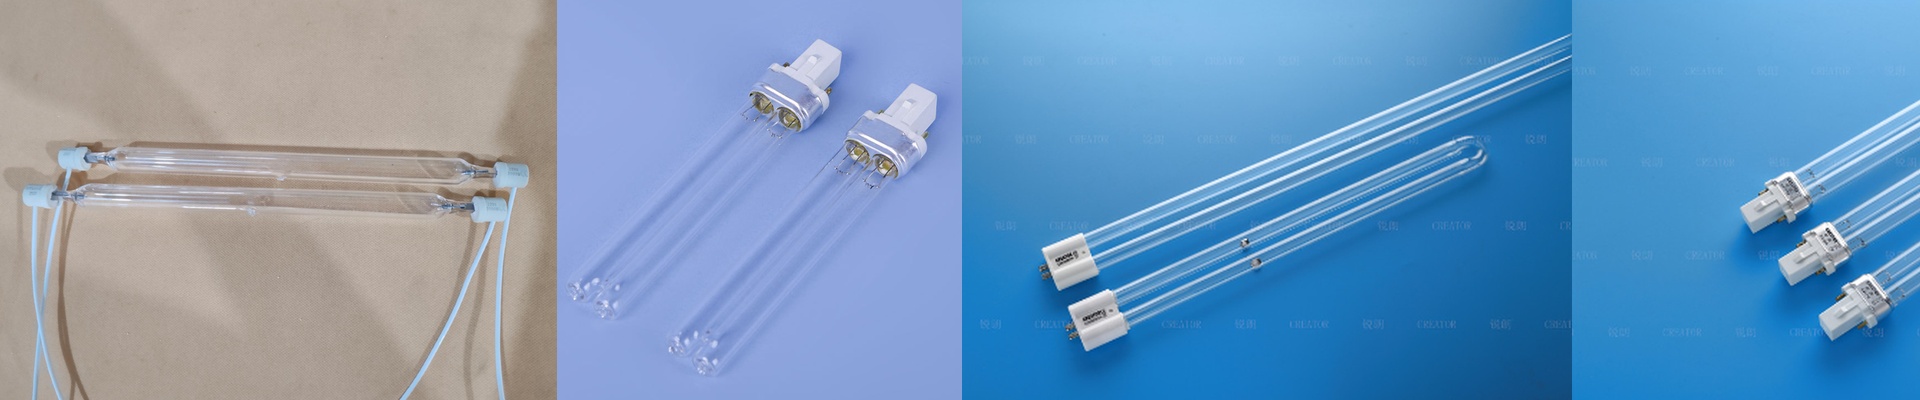
Most of our setups use LED or mercury-vapor sources to hit that 200nm to 400nm sweet spot. But we don’t just guess. We look at the photoinitiator in your specific ink first. If your ink needs a shorter wave to cure, we go with high-pressure quartz tubes. They’re tough enough to handle the heat and pressure inside the lamp while letting the UV rays slide right through without getting blocked.
The Tug-of-War: Power vs. Heat
Here’s the thing: more wattage means you can speed up your production line. That sounds great, right? But there’s a catch. Pushing all that power into a small space creates a ton of heat. If you crank up a high-output lamp without a solid cooling system—whether that’s forced air or water jackets—that quartz envelope is going to stress out. Eventually, it’ll just crack. We see it all the time. Someone pushes the wattage to hit a deadline, and they end up burning out their lamps way too early. You’ve got to find that balance between how much light is hitting the surface and how fast your conveyor is moving, otherwise, you’ll just scorch your materials.
Keeping Things Running
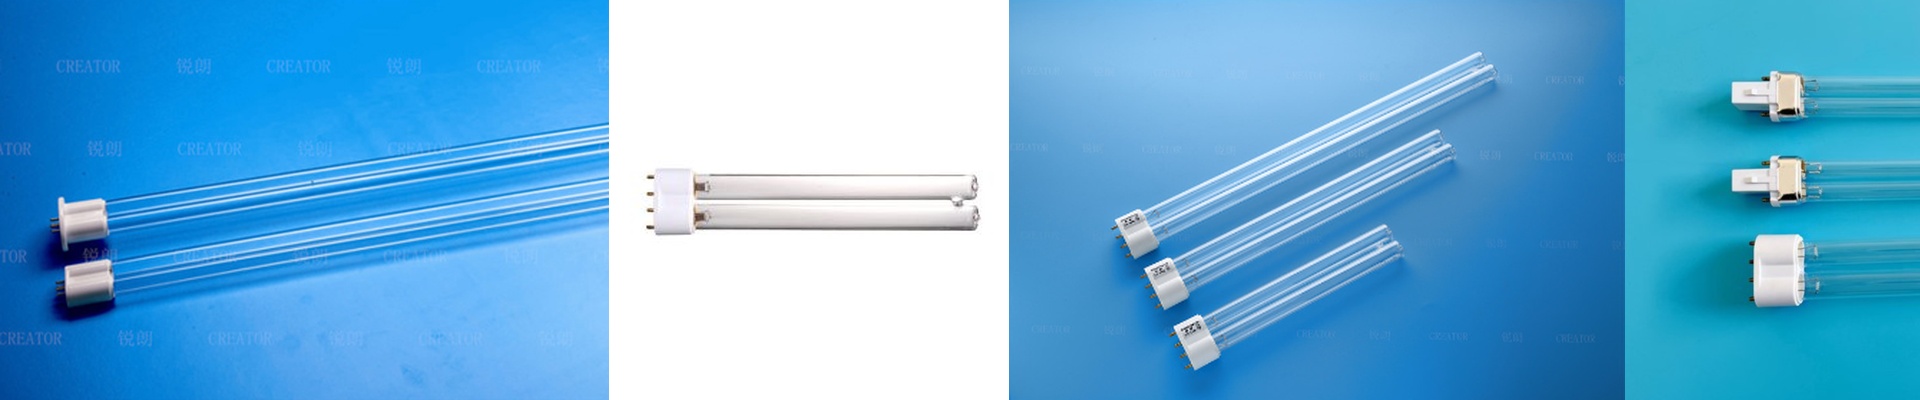
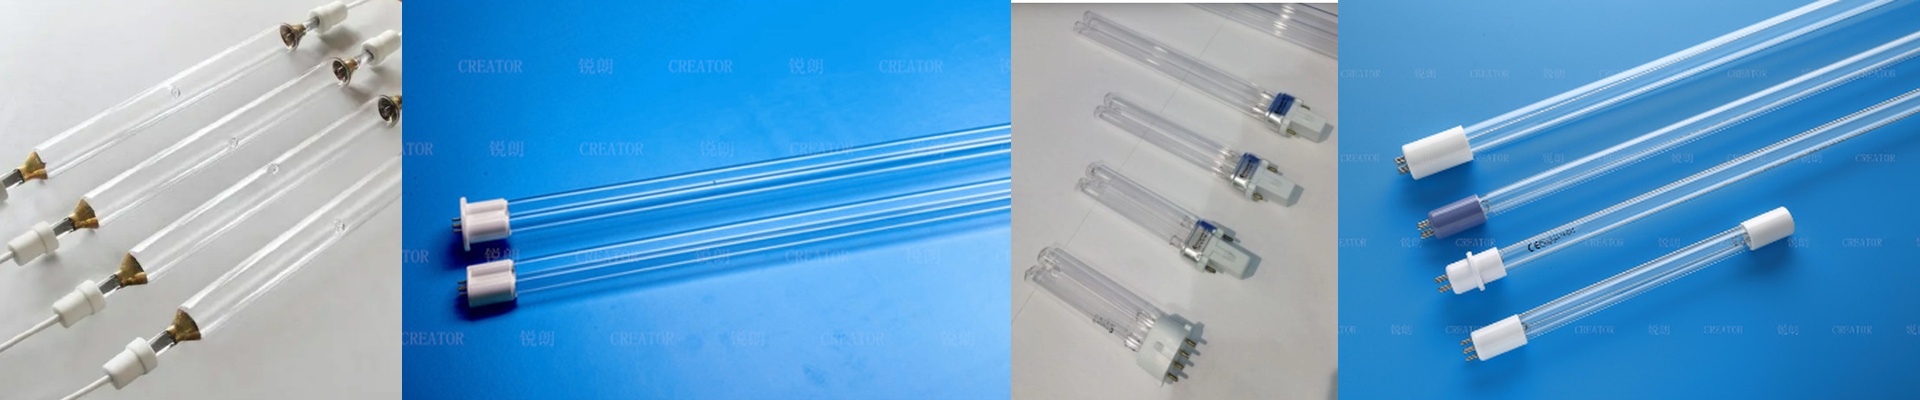
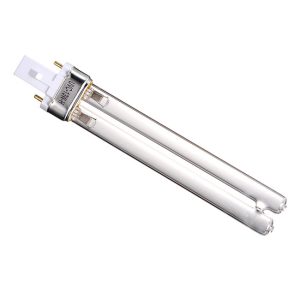
We design these lamps so you can swap them out fast. We use R7s or custom pin-base connectors because nobody wants to spend their afternoon rewiring a whole rack. It should just be a simple drop-in replacement. We also stick to high-purity quartz. Why? Because it keeps the light spectrum steady even as the lamp gets older. Just keep in mind that UV intensity will dip over time. It’s just what happens when electrodes wear down. My best advice? Keep an eye on your operating hours. Swap the tubes before the cure rate drops, because noticing uncured ink on your finished product is a headache you don’t need.